How AI Brand Mentions Influence Direct Visits and Traditional Search Queries: New Research from Similarweb
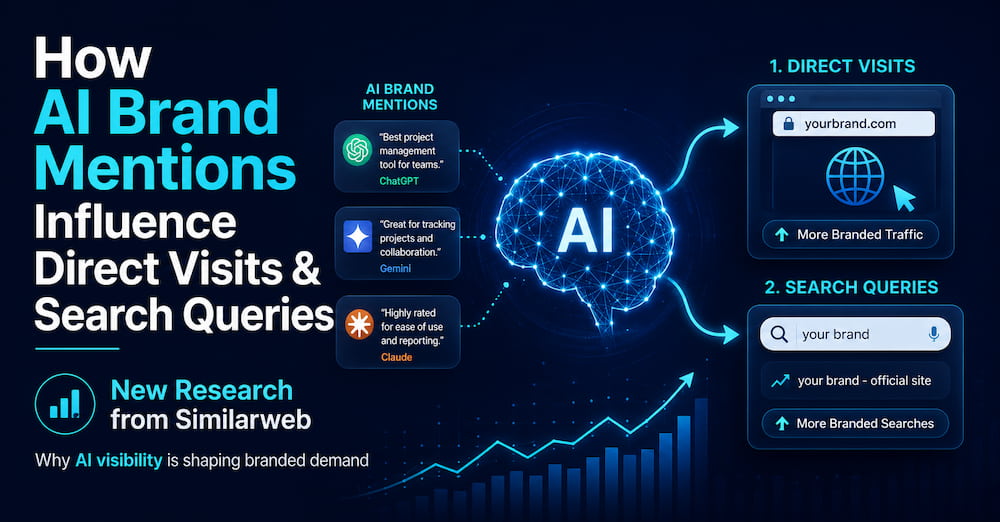
For years, marketers have debated whether showing up in AI-generated answers actually does anything. Is it a vanity metric, or does it move the needle on real business outcomes like traffic, brand preference, and conversions? Similarweb just published one of the first data-backed answers to that question. Their new study, “The Downstream Impact of AI … Read more
